Sekiro is a title known for its difficulty. With updates from the devs and self-imposed challenges that can be activated later on, Sekiro is a title that gets all the harder the more you play it. And yet, she has been at the forefront of much discussion as to whether games should have more difficulty options — even though it practically starts with «easy mode» when first launched.
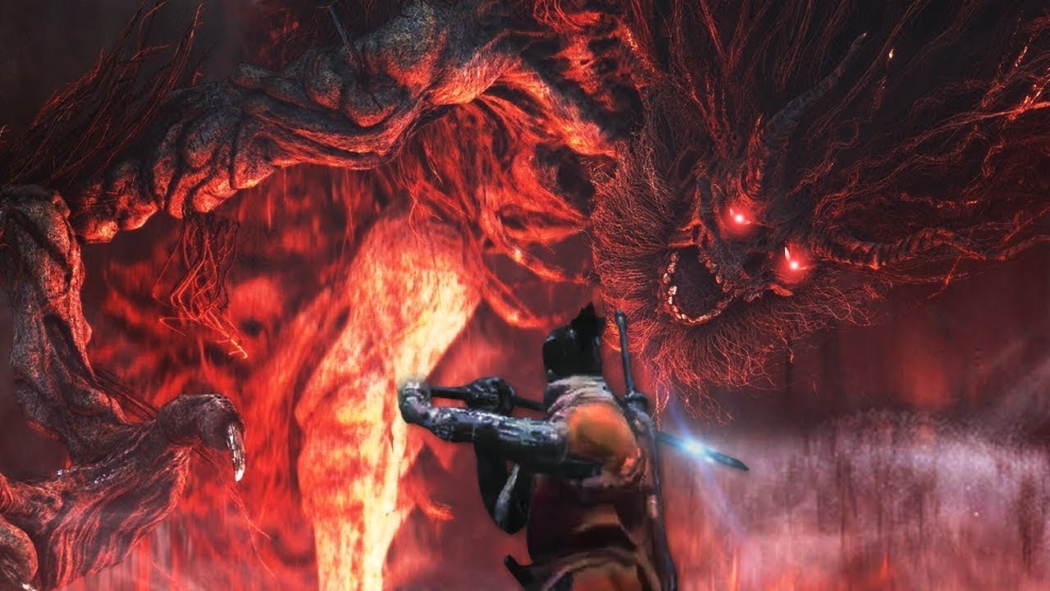
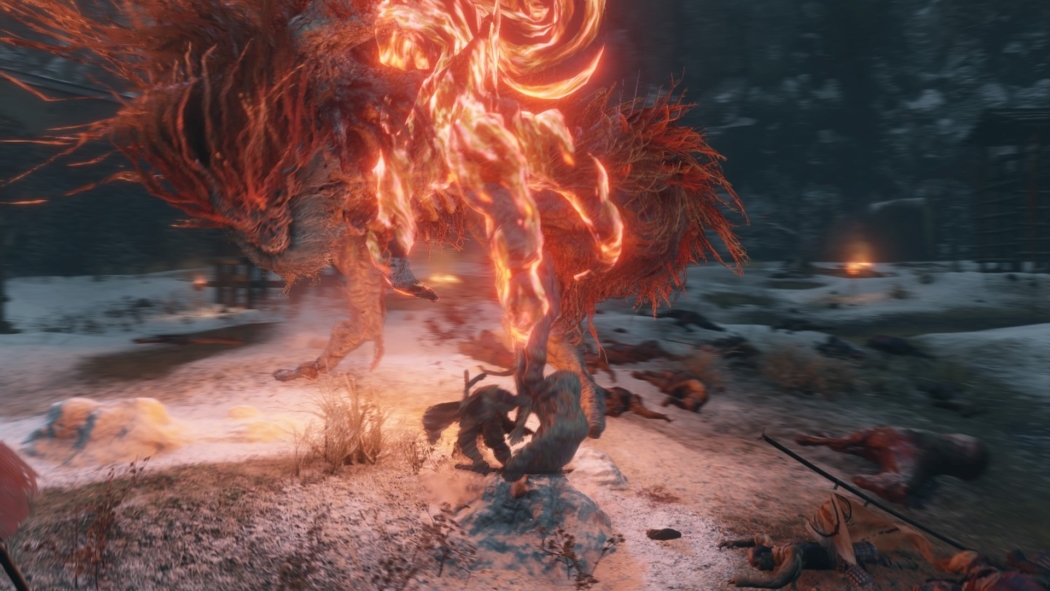
Nothing highlights Sekiro’s love of difficulty better than the Demon of Hatred boss. The optional battle, which can only be found during the endgame, some find it more difficult than the final boss itself. Such sentiment is easy to understand given his fiery attacks and the larger-than-life beast. Defeating the Sekiro’s Hate Demon will require a full understanding of the game mechanics, including some tricks rarely used by most players.
Prepare for Sekiro’s Hatred Demon
No items in this section are required to defeat the Hatred Demon. However, they will make the fight much easier and help you get through situations that would otherwise kill you.
If you haven’t already, you may want to get every gourd seed, prayer bead, and memory you can. If you’re in particularly trouble, you can even defeat the final boss first, you can decide whether to proceed to New Game + after defeating it, so you don’t have to leave the Hatred Demon behind.
A particularly powerful item to use in combat is the Malcontent, a prosthetic tool improved from the Finger Whistle. You can use it to stun the Hatred Demon during his fight, leaving him open to your attacks. This is especially useful for stronger martial arts that use the Mortal Blade if you have them unlocked. Be warned that this tool will only work three times during a fight; after that it will have no effect.
Creating Malcontents
The Fingering Whistle item is dropped by the Guardian Ape, so you probably already have it.
The update requires:
- x2 Adamantine scrap
- x2 lump of grave wax
- x4 Scrap Magnetite
- x4 a lump of greasy wax
You will also need the Malcontent’s Ring, which only the Shichimen Warrior drops in the second arena of the Headless Ape boss. You must cut off the monkey’s immortality and complete the Mibu Village for the miniboss to respawn.
Also handy is the Lotus Suzaku Umbrella, which acts as an upgrade to the Loaded Umbrella. He will defend himself against fire attacks, making him especially helpful against some of the Hate Demon’s more deadly moves. With practice, you can avoid a lot of fire attacks, but an umbrella will be a great last resort option.
Creating the Suzaku Lotus Umbrella
To obtain a Loaded Umbrella, you must purchase the Iron Fortress item from Blackhat Badger. If you missed it before reaching the Hatred Demon, you can purchase it from the sacrificial chest in the Dilapidated Temple.
The update requires:
- x2 Adamantine scrap
- x2 Accumulated mercury
- x6 Magnetite Scrap
- x6 Yellow Gunpowder
Most of them can be found worldwide, although Fulminated Mercury can be difficult to find. Late in the game, you can find a few near Ashina Castle and on the outskirts.
Other useful items include Divine Confetti, which increases damage, and Withered Red Gourd, which helps alleviate the afterburn condition. You can buy a gourd from Pot Noble at Hirata Estate; just make sure you have two Treasure Carp scales. If you used the True Precious Lure from Pot Noble in the Fountainhead Palace, you will need to talk to him to buy a gourd.
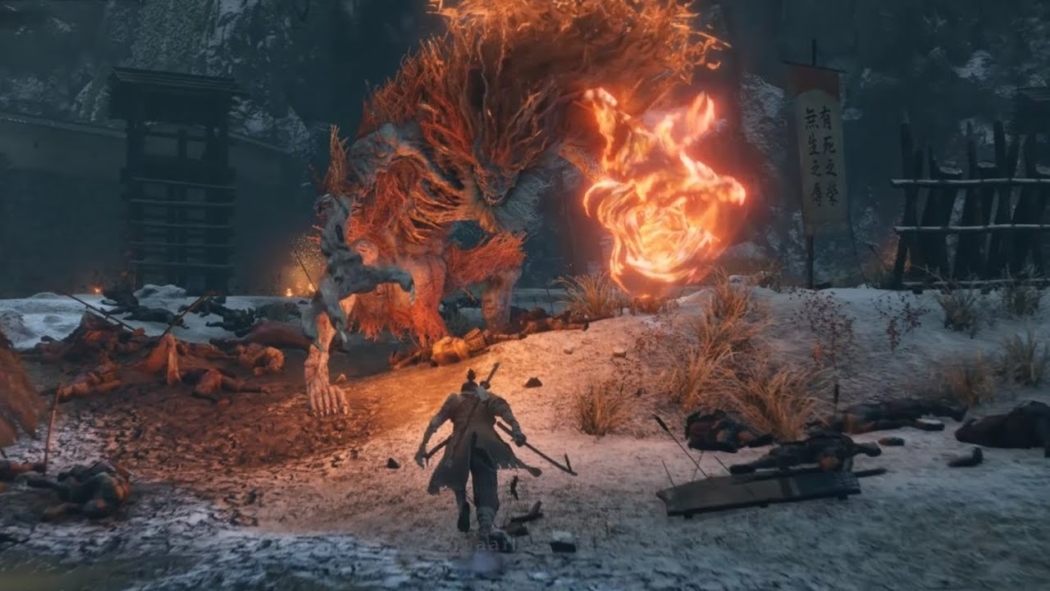
The Hate Demon becomes available only after obtaining the Divine Dragon Tears, which will trigger the final sequence of the game. To get to the fight with the Demon of Hatred, you need to exit Ashina Castle and find a specific kite to catch on. It will lead you to the Ashina Outskirts; you’ll know you’re in the right place if you meet the Red Guard Shigekichi. Just make your way through the area and you will eventually come across an idol that will allow you to access the boss arena.
Fighting the hate demon Sekiro
The Demon of Hatred is a very aggressive opponent that deals a lot of damage within a few moments. He’s one of the tallest and most impressive enemies in the game, but the size is also his weakness.
Stay close
The fight won’t start immediately after you enter the Hate Demon arena. The moment he sees you, he will assume a pose — you should take this time to move in as quickly as possible. Staying close to the boss will limit his abilities, preventing him from using his many ranged attacks effectively. If you get close enough, some attacks will actually completely miss you, allowing you free hits.
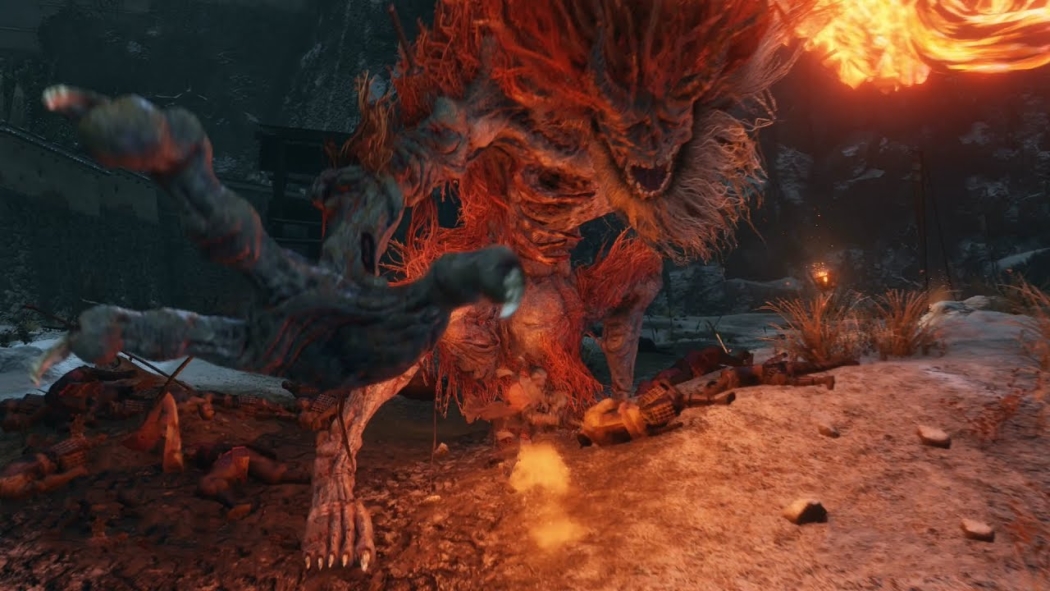
Keep running and keep to the right side
By staying near the Hatred Demon, you make him use a certain number of moves. His body stomps, kicks, and other attacks can deflect easily, but his flaming left hand will burn you if you try to block him. However, by abusing Sekiro’s unlimited stamina, you can constantly run around the boss, avoiding many of his strongest attacks. You’ll want to stay on the right side of the Hatred Demon; if you played the keyboard, keeping the W and A keys together would be your best chance of winning.
Concentrate on attacking and less on bouncing
Overall, the boss’s stature bar won’t get much smaller. Focus less on bouncing and more on attacking. It is also worth waiting until the third phase of the fight with a Malcontent, if you have one. The third phase is by far the most dangerous, so extending all three stuns during this time will be extremely helpful.
Survival of Sekiro’s Hatred Demon
You’ll have to train your reflexes if you want to avoid taking too much damage, but many of the Hatred Demon’s attacks are highly telegraphed. His punches and punches are easy to learn, and some players may not even see the full set of moves. Even so, there are attacks that can surprise even the best players.
Here are some of the most difficult attacks, as well as how to deal with them:
Leap — The Demon of Hate will pop into the air and hit straight down with an explosion. The right attack isn’t hard to dodge, but a gust of wind will shoot out of the blast, knocking you down. The boss will gain a hook that you can stick to to avoid being knocked down. You should wait with a jump and grapple until the boss finishes his hit to avoid being knocked back at the end of the animation.
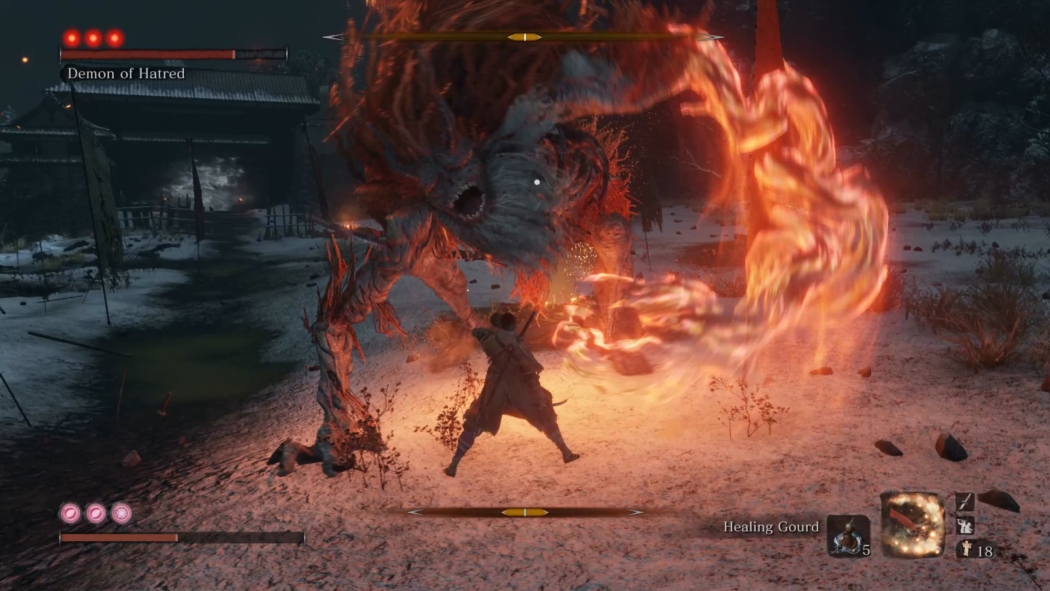
Fire Combo — a series of short-range attacks. The Demon of Hatred will first swing his fiery arm at you and then wave it upwards before trying to step on you, ending up with another flaming swing. You should jump backward if you see the initial attack, and back and right during your last swing. Contrary to appearances, both attacks in the middle of this combination can be deflected without accumulating burns.
Bursting Fireball — Attack performed only at medium range. The Demon of Hatred will throw multiple fireballs at once, firing one volley after another. Since he only uses this when you’re away, the best way to avoid the attack is to stay as close to the boss as possible. If he can get far enough away from you, a dash straight towards the Hatred Demon will make it easier to dodge the attack; running slightly to the left can, if you are lucky, avoid the first volley altogether.
Sweep — a dangerous attack. The demon of hate sweeps the ground, fleeing a great distance before assuming a pose. Diving back and moving away from the boss will allow you to dodge the attack easily, and you should run to the Hatred Demon before he starts using more dangerous ranged moves.
- In Phase 2, this attack is usually followed by a second attack. The Demon of Hatred waves his hand in the air, then slams downward, creating fire in front of him. If he does, don’t run to him. Run left or right and jump when his hand hits the floor. A hook will appear on the boss that will allow you to avoid the burning ground before landing.
- In phase 3, the Demon of Hatred may instead use a second attack with his flaming arm. Time your jump carefully and try to stay away from it until the attack is over. You can safely close the distance when you see his characteristic pose.
Meteors — Ranged attack. The demon of hatred will rotate its head to form fireballs before it shoots them at you. Running diagonally towards the boss is the best way to avoid this attack, but it can be unavoidable if either of you get too close to the wall. After the final ball, the boss will assume another pose, leaving it open to more free attacks.
Flaming Whirlwind — Dangerous attack. The Demon of Hatred will move his flaming hand in a circle, lifting it up before making the second swing, creating a huge ring of fire around the area. The first swing can be avoided by a careful jump, and staying behind the boss while attacking will give you a relatively safe place.
If you find that you’re unable to dodge ranged attacks, the Suzaku Lotus Umbrella can mitigate most, if not all, of your flame damage. Any attack not listed here can be easily dodged by bouncing or strafing, and keeping these moves in mind should make combat a lot easier to control.